

UniFi shared accounts are the easiest way to share finances with loved ones. Now, they're even easier to set up. Let's walk through the process below.
Sign up for UniFi
First, if you're not already using UniFi, sign up. It's free, and you get lots of useful features like:
- Multiple checking accounts.
- Debit cards you can use anywhere.
- Easy transfers between your accounts and to other banks.
- No extra fees or minimum amount needed in your account.
Click here to sign up for free.
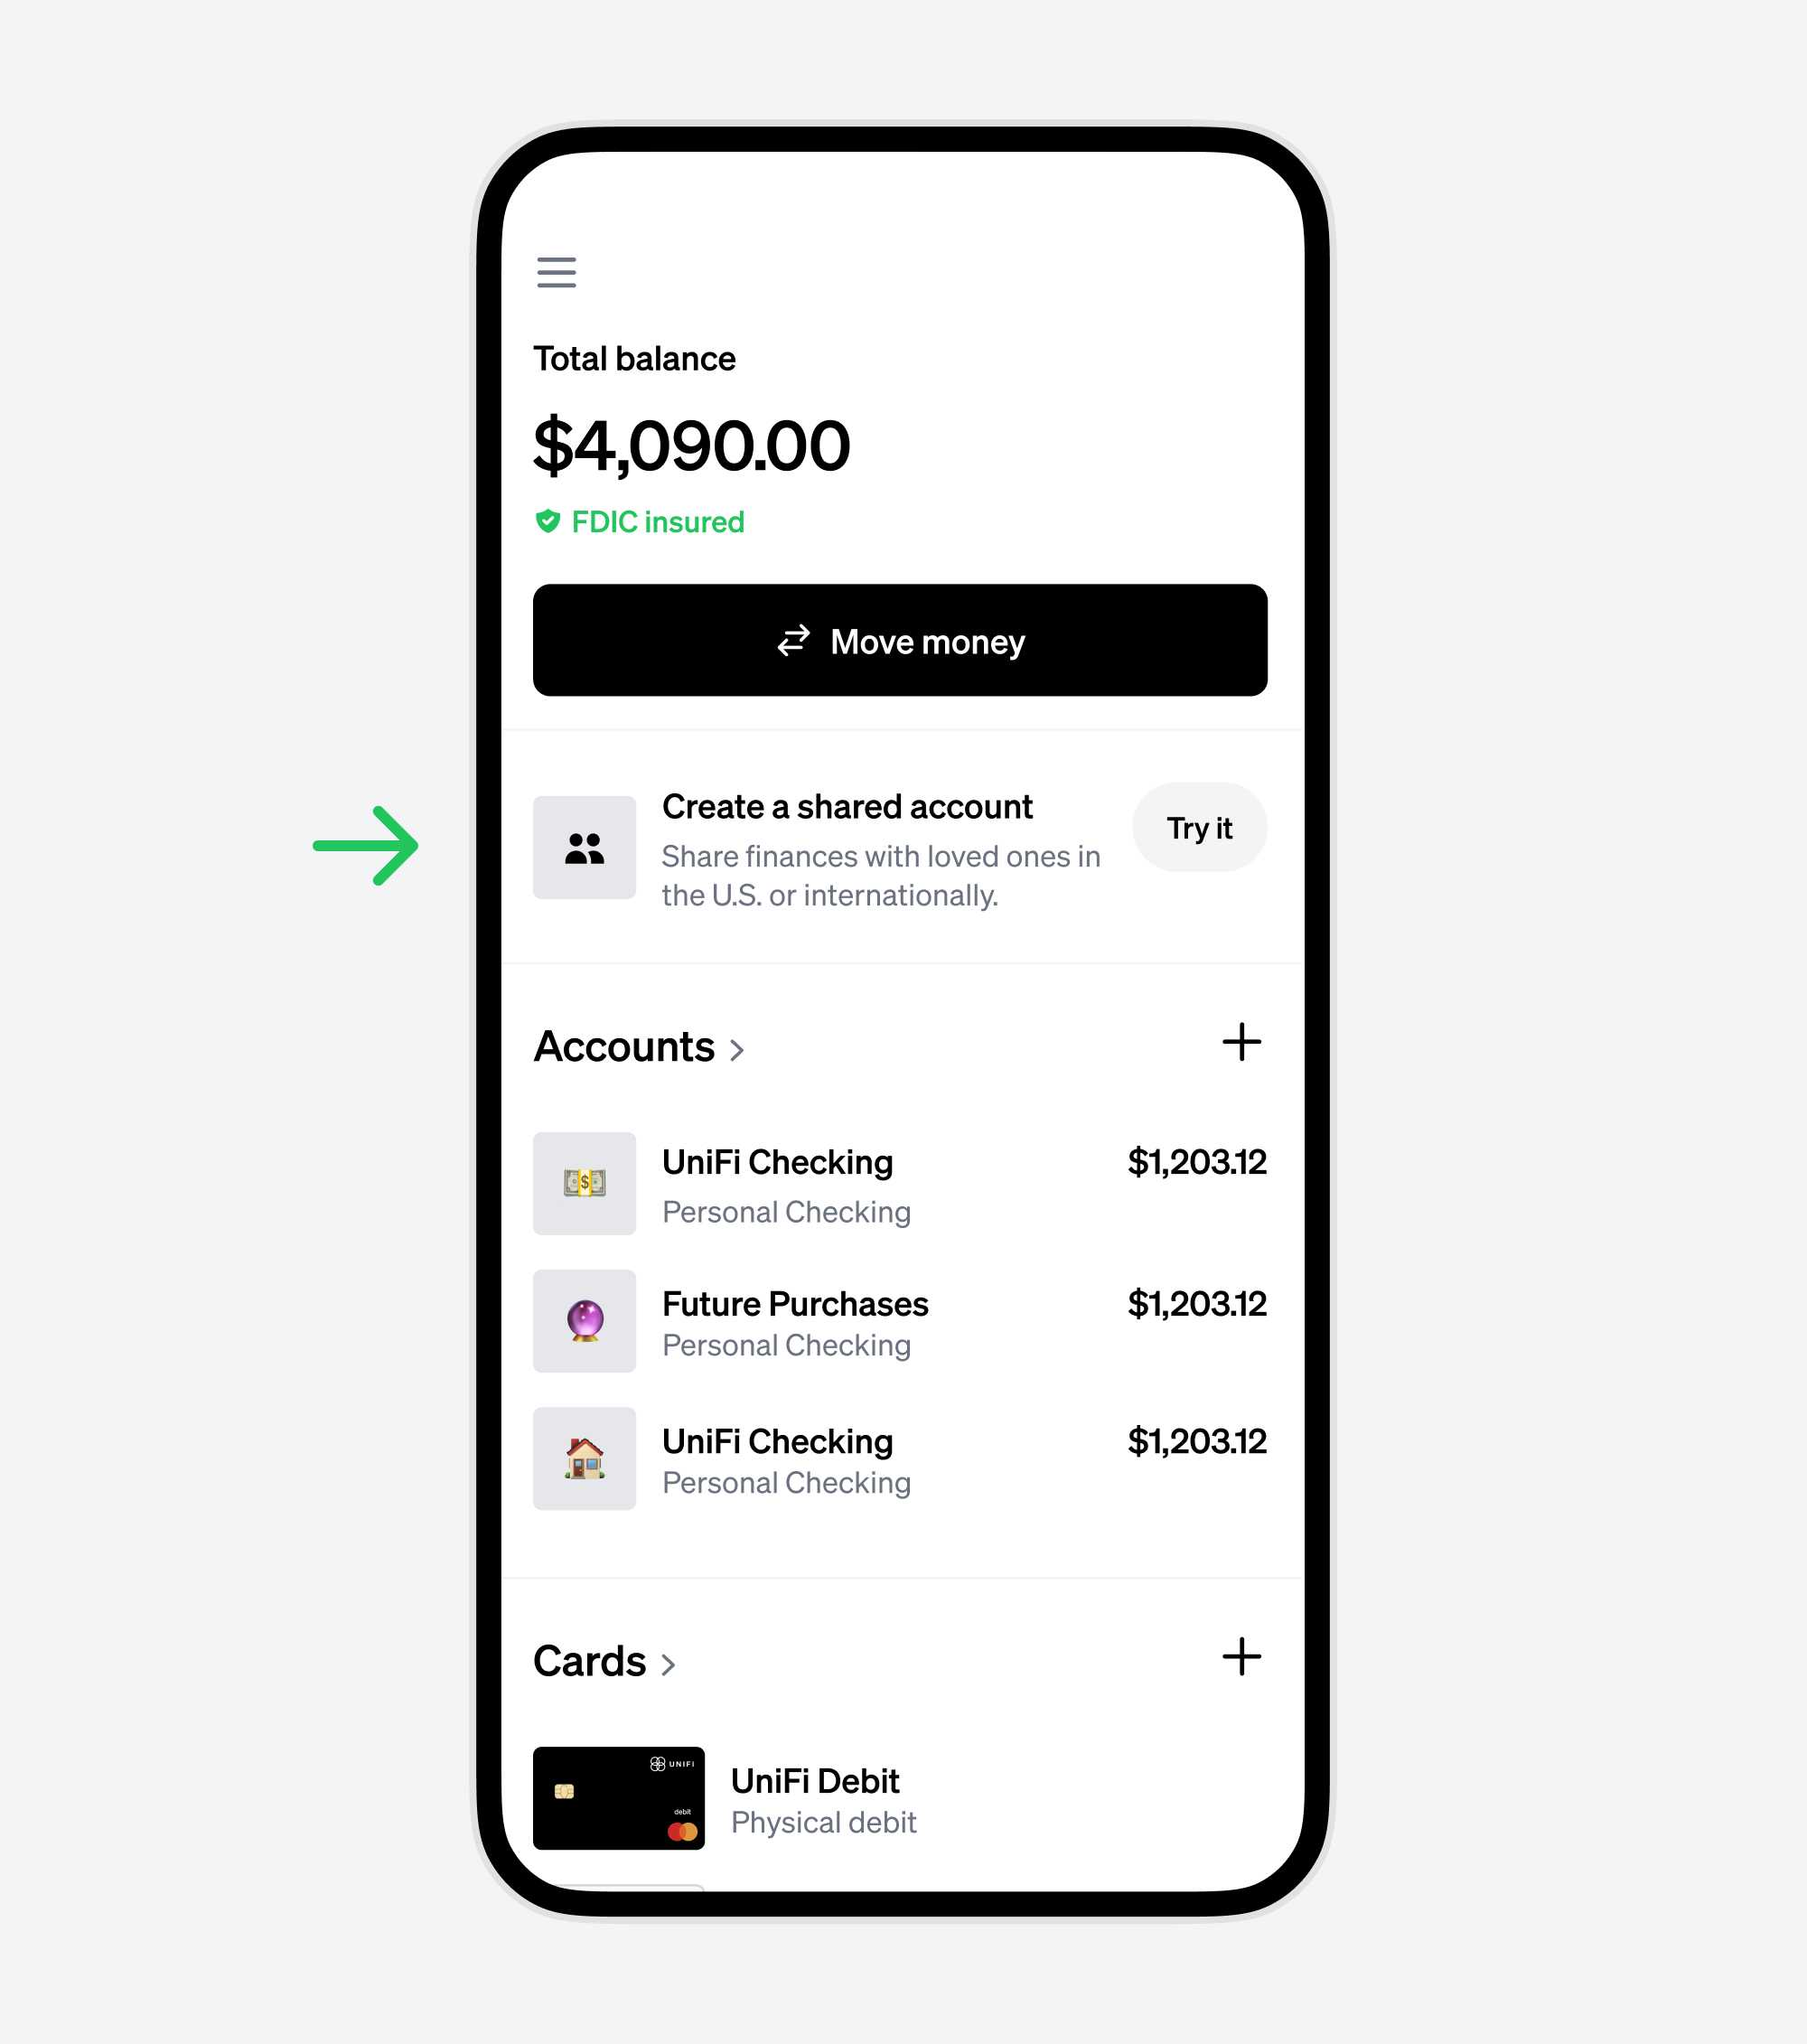
The UniFi dashboard now has a shortcut to create a shared account
You'll see this shortcut if this is your first time creating a shared account. If you've already created a shared account, we won't show it in order to keep your dashboard free of clutter.
Click the "Try it" button to try creating your first shared account.
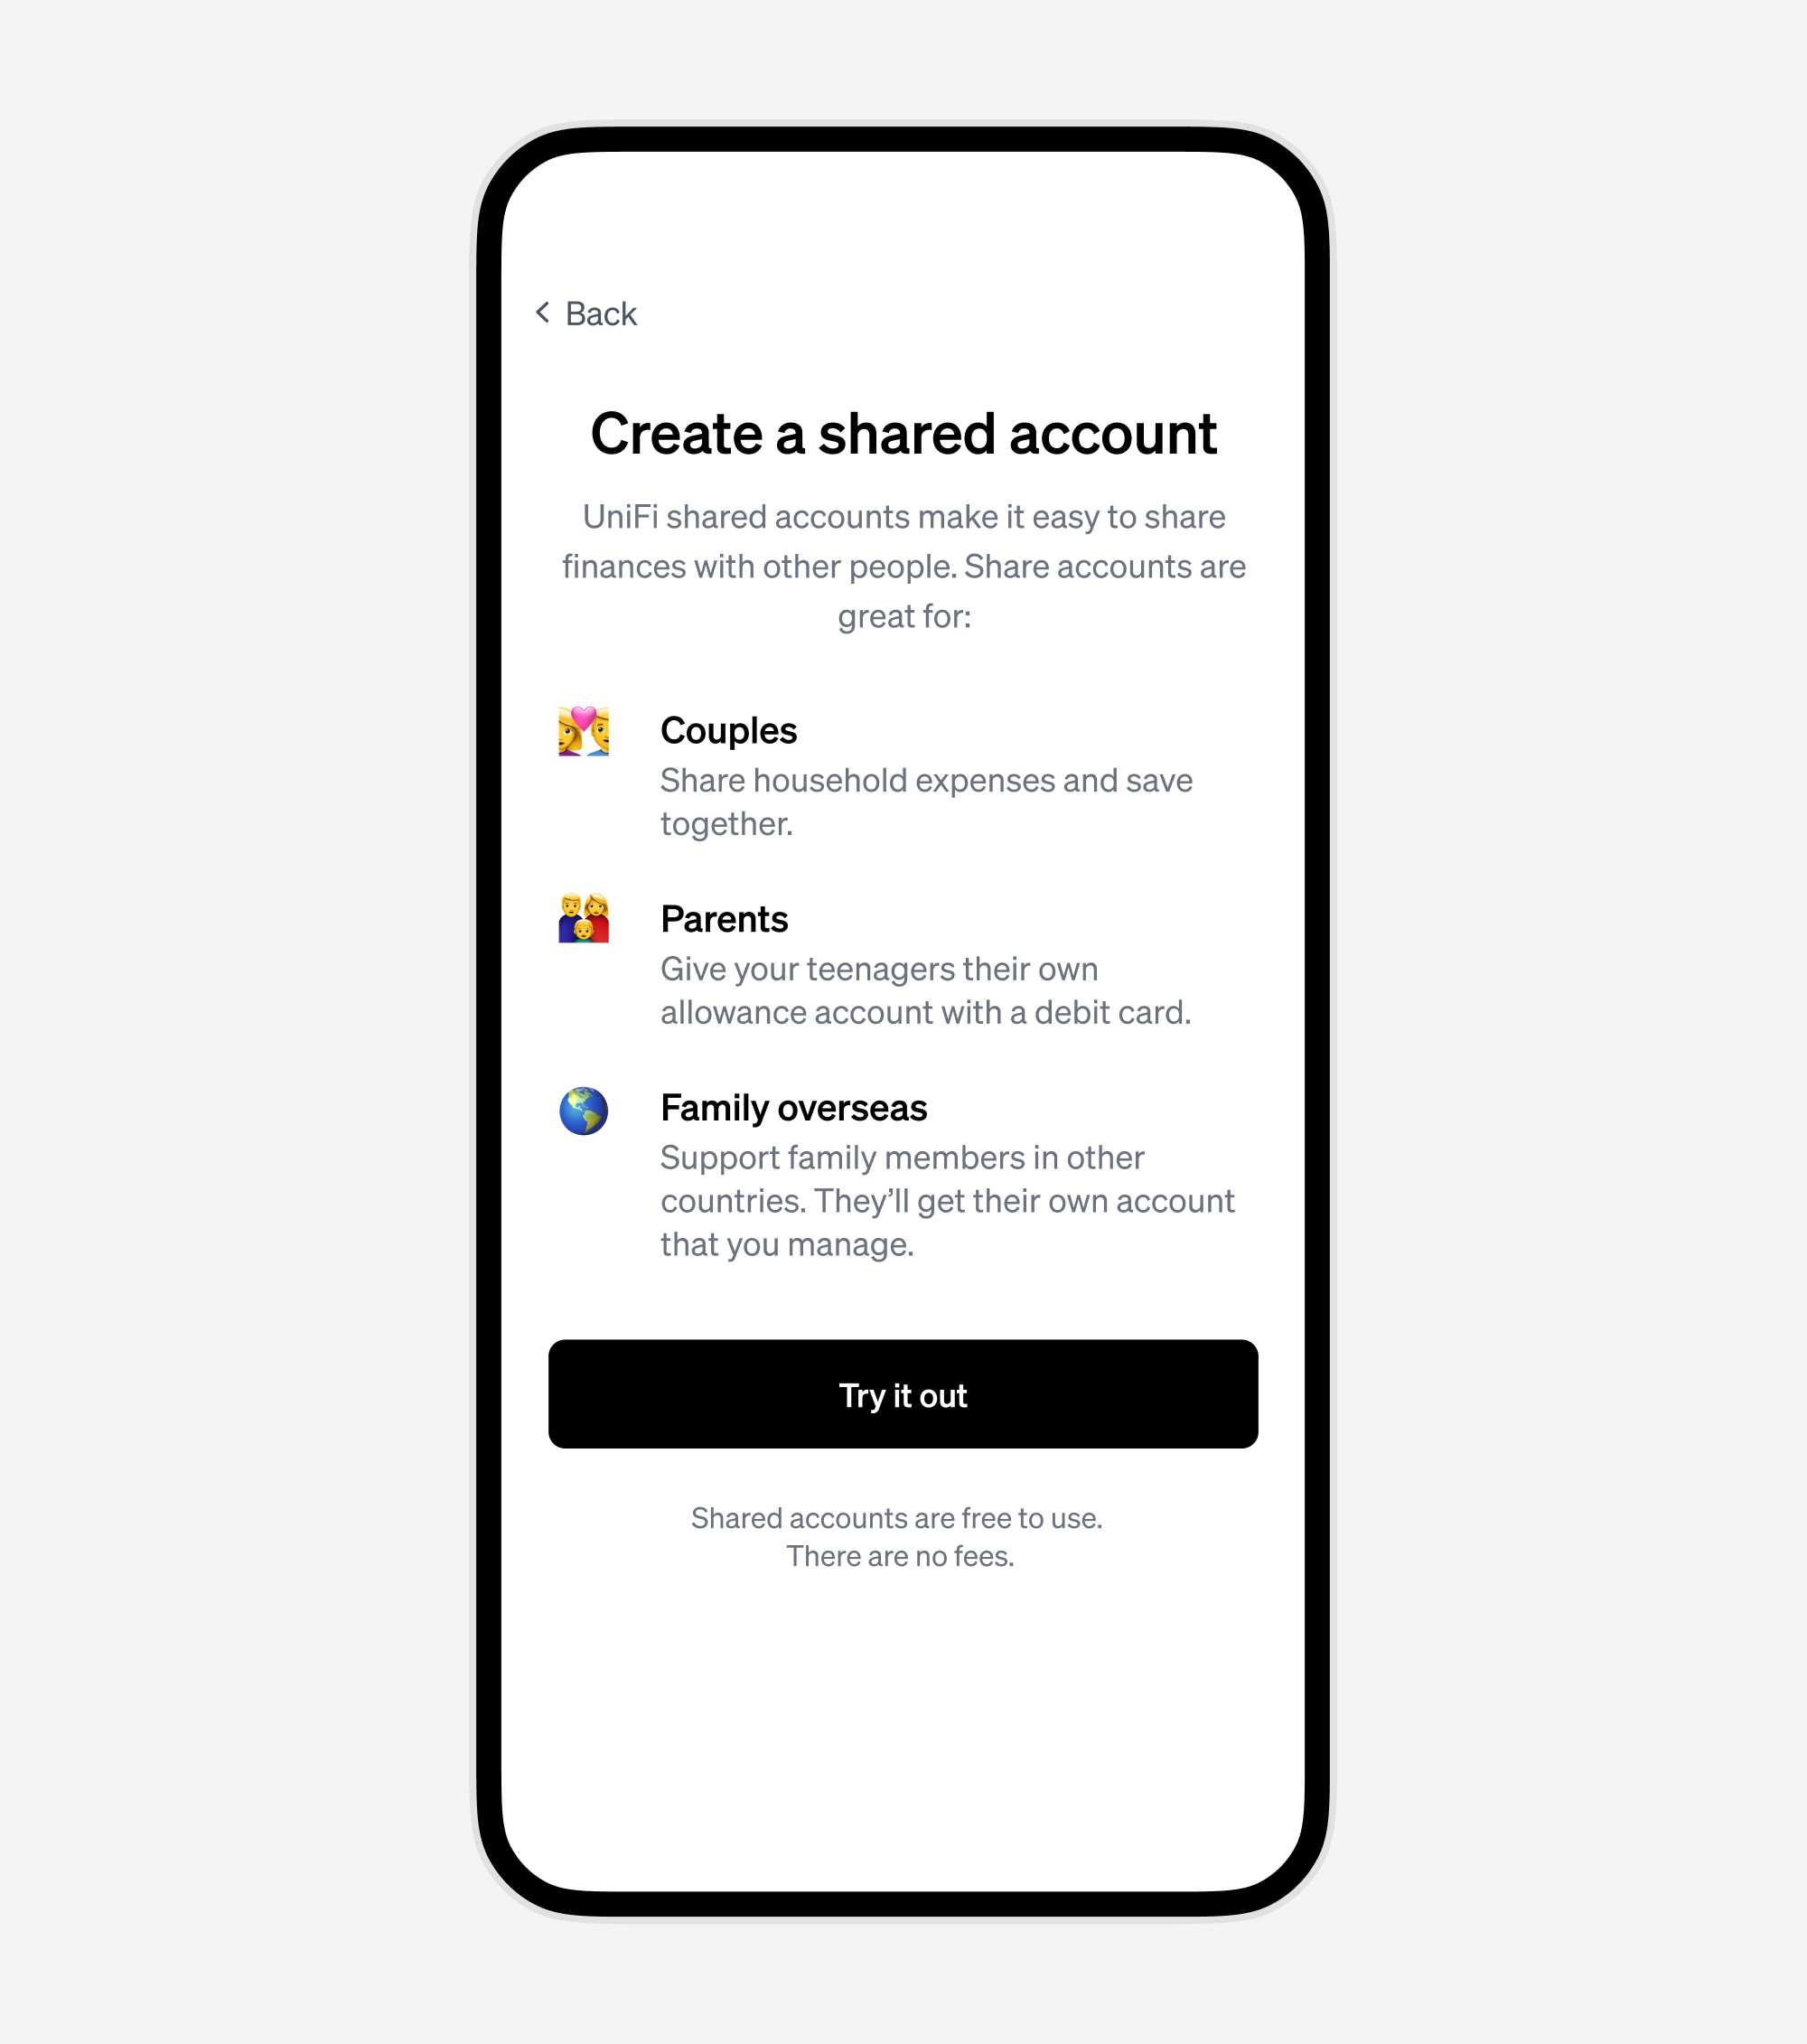
You'll see a quick explainer
This screen tells you a little about what shared accounts are, and how UniFi customers use them.
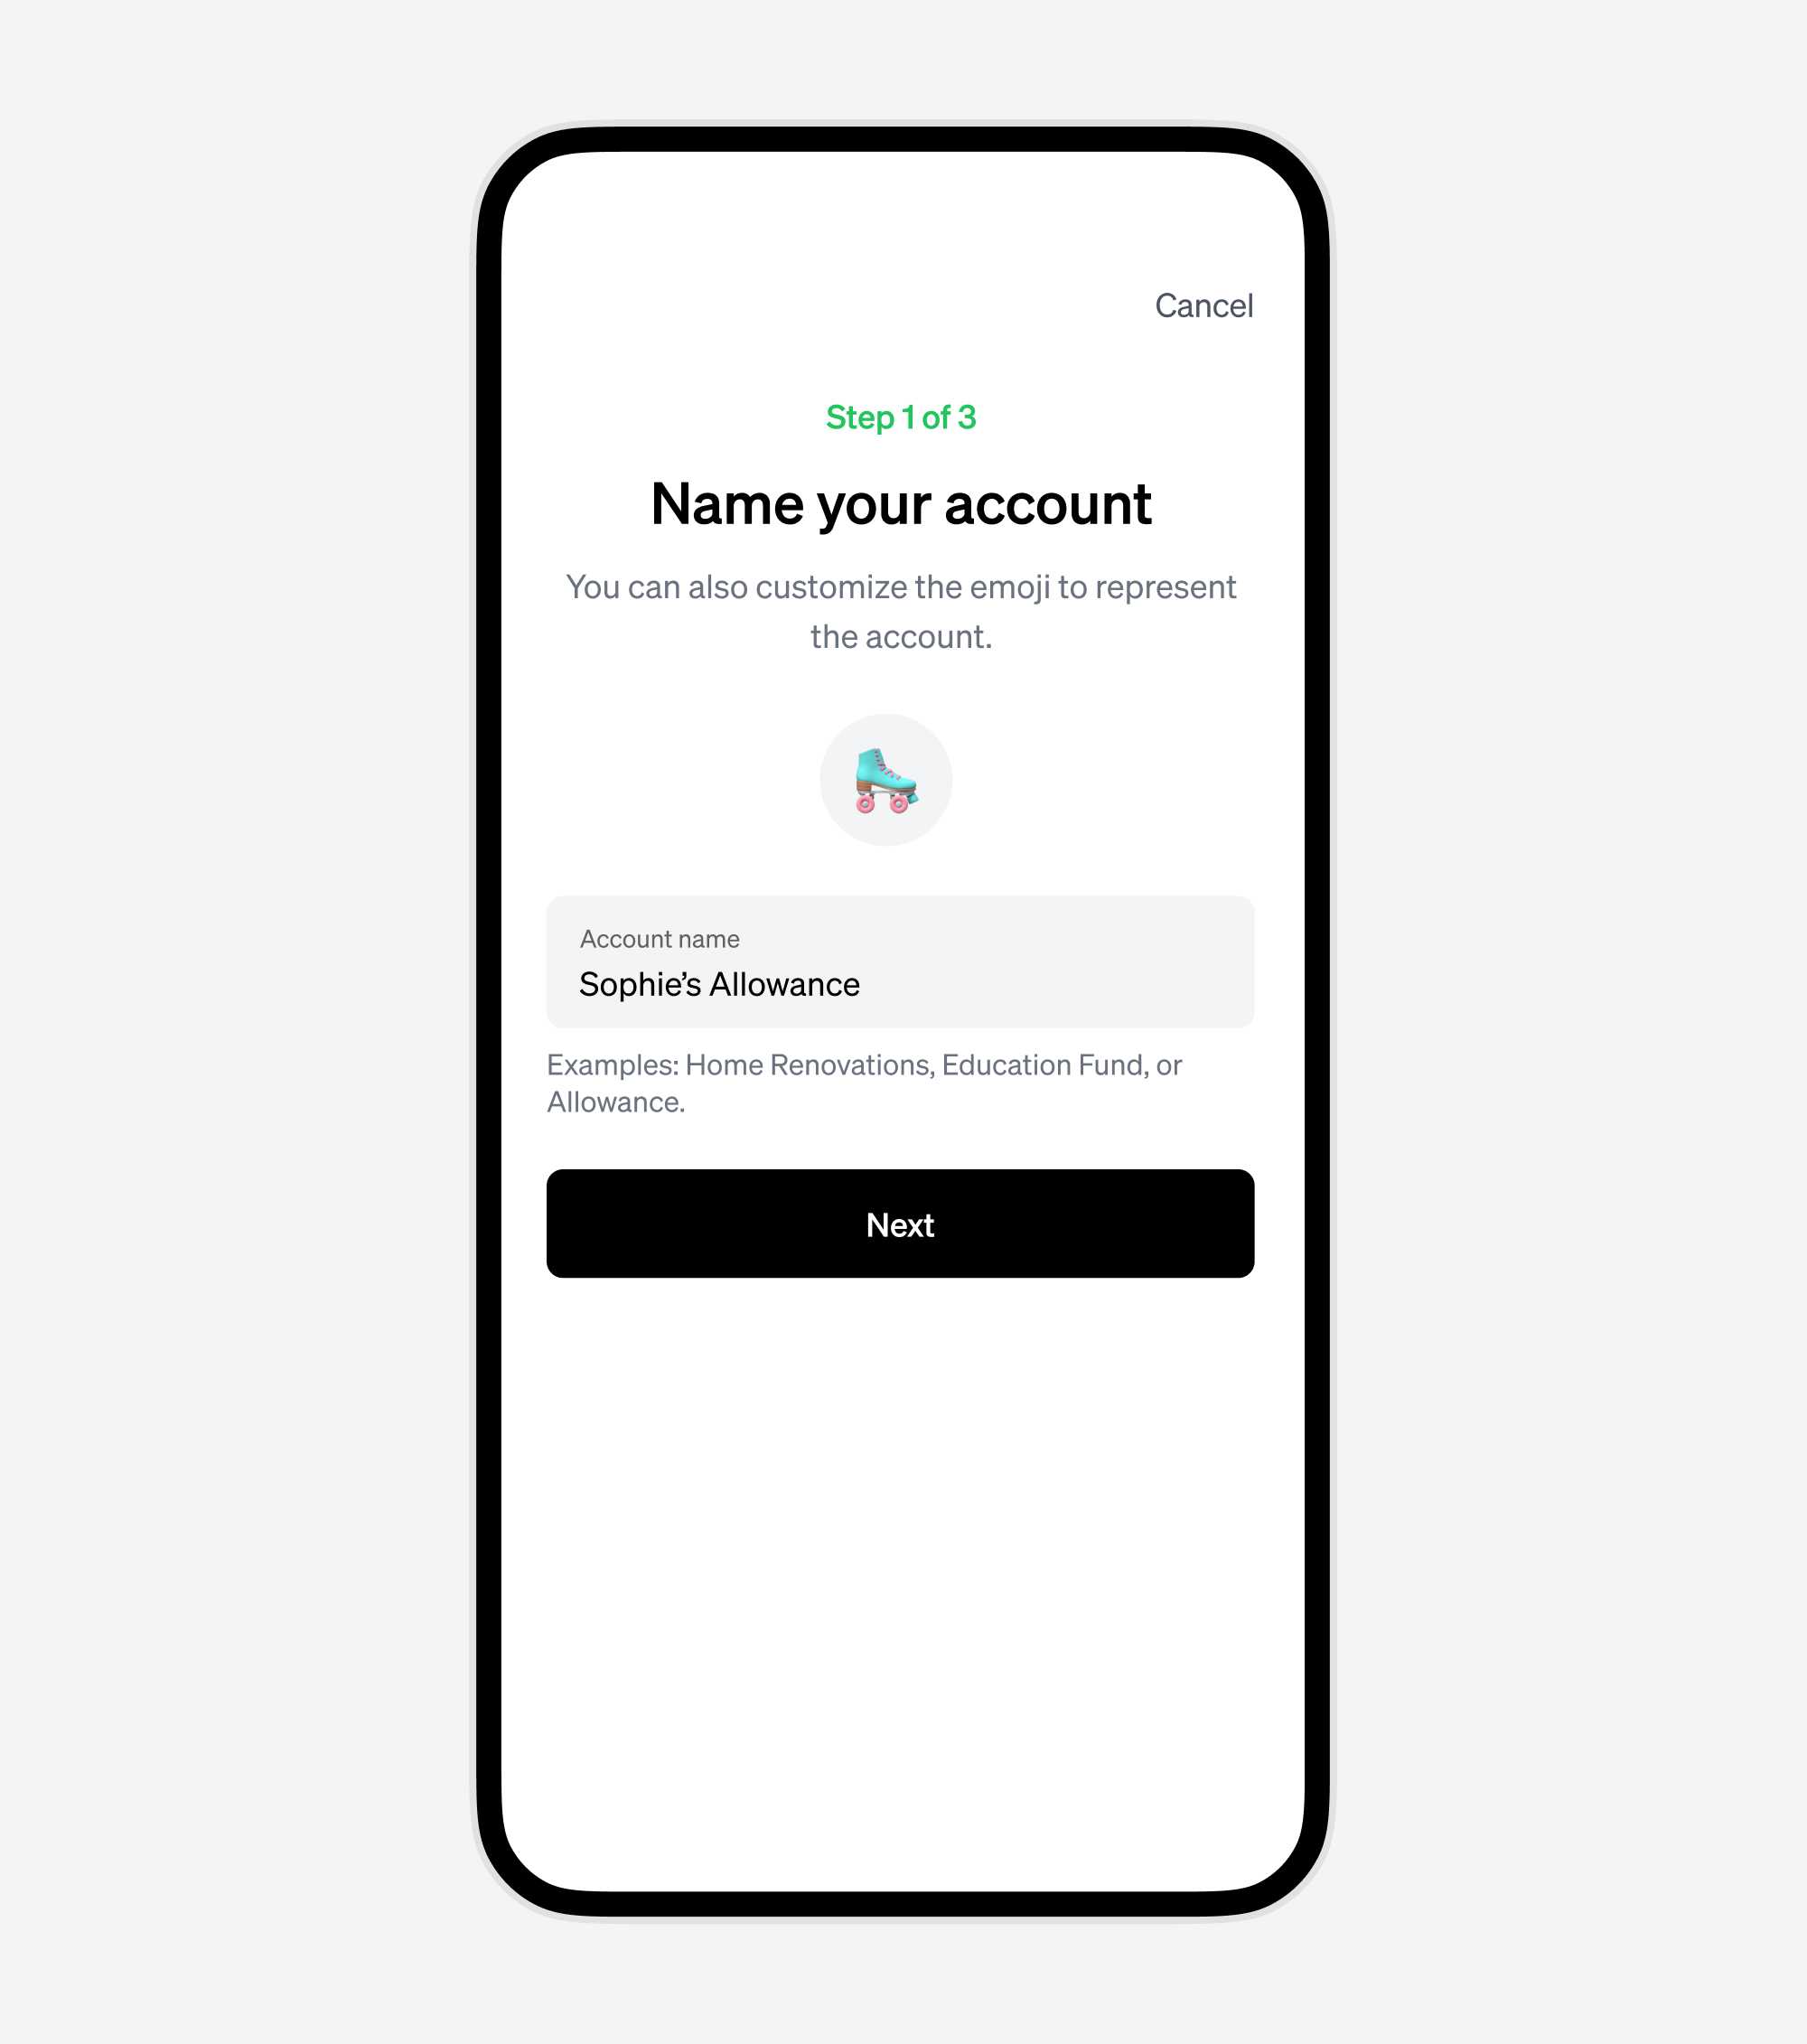
Name your shared account
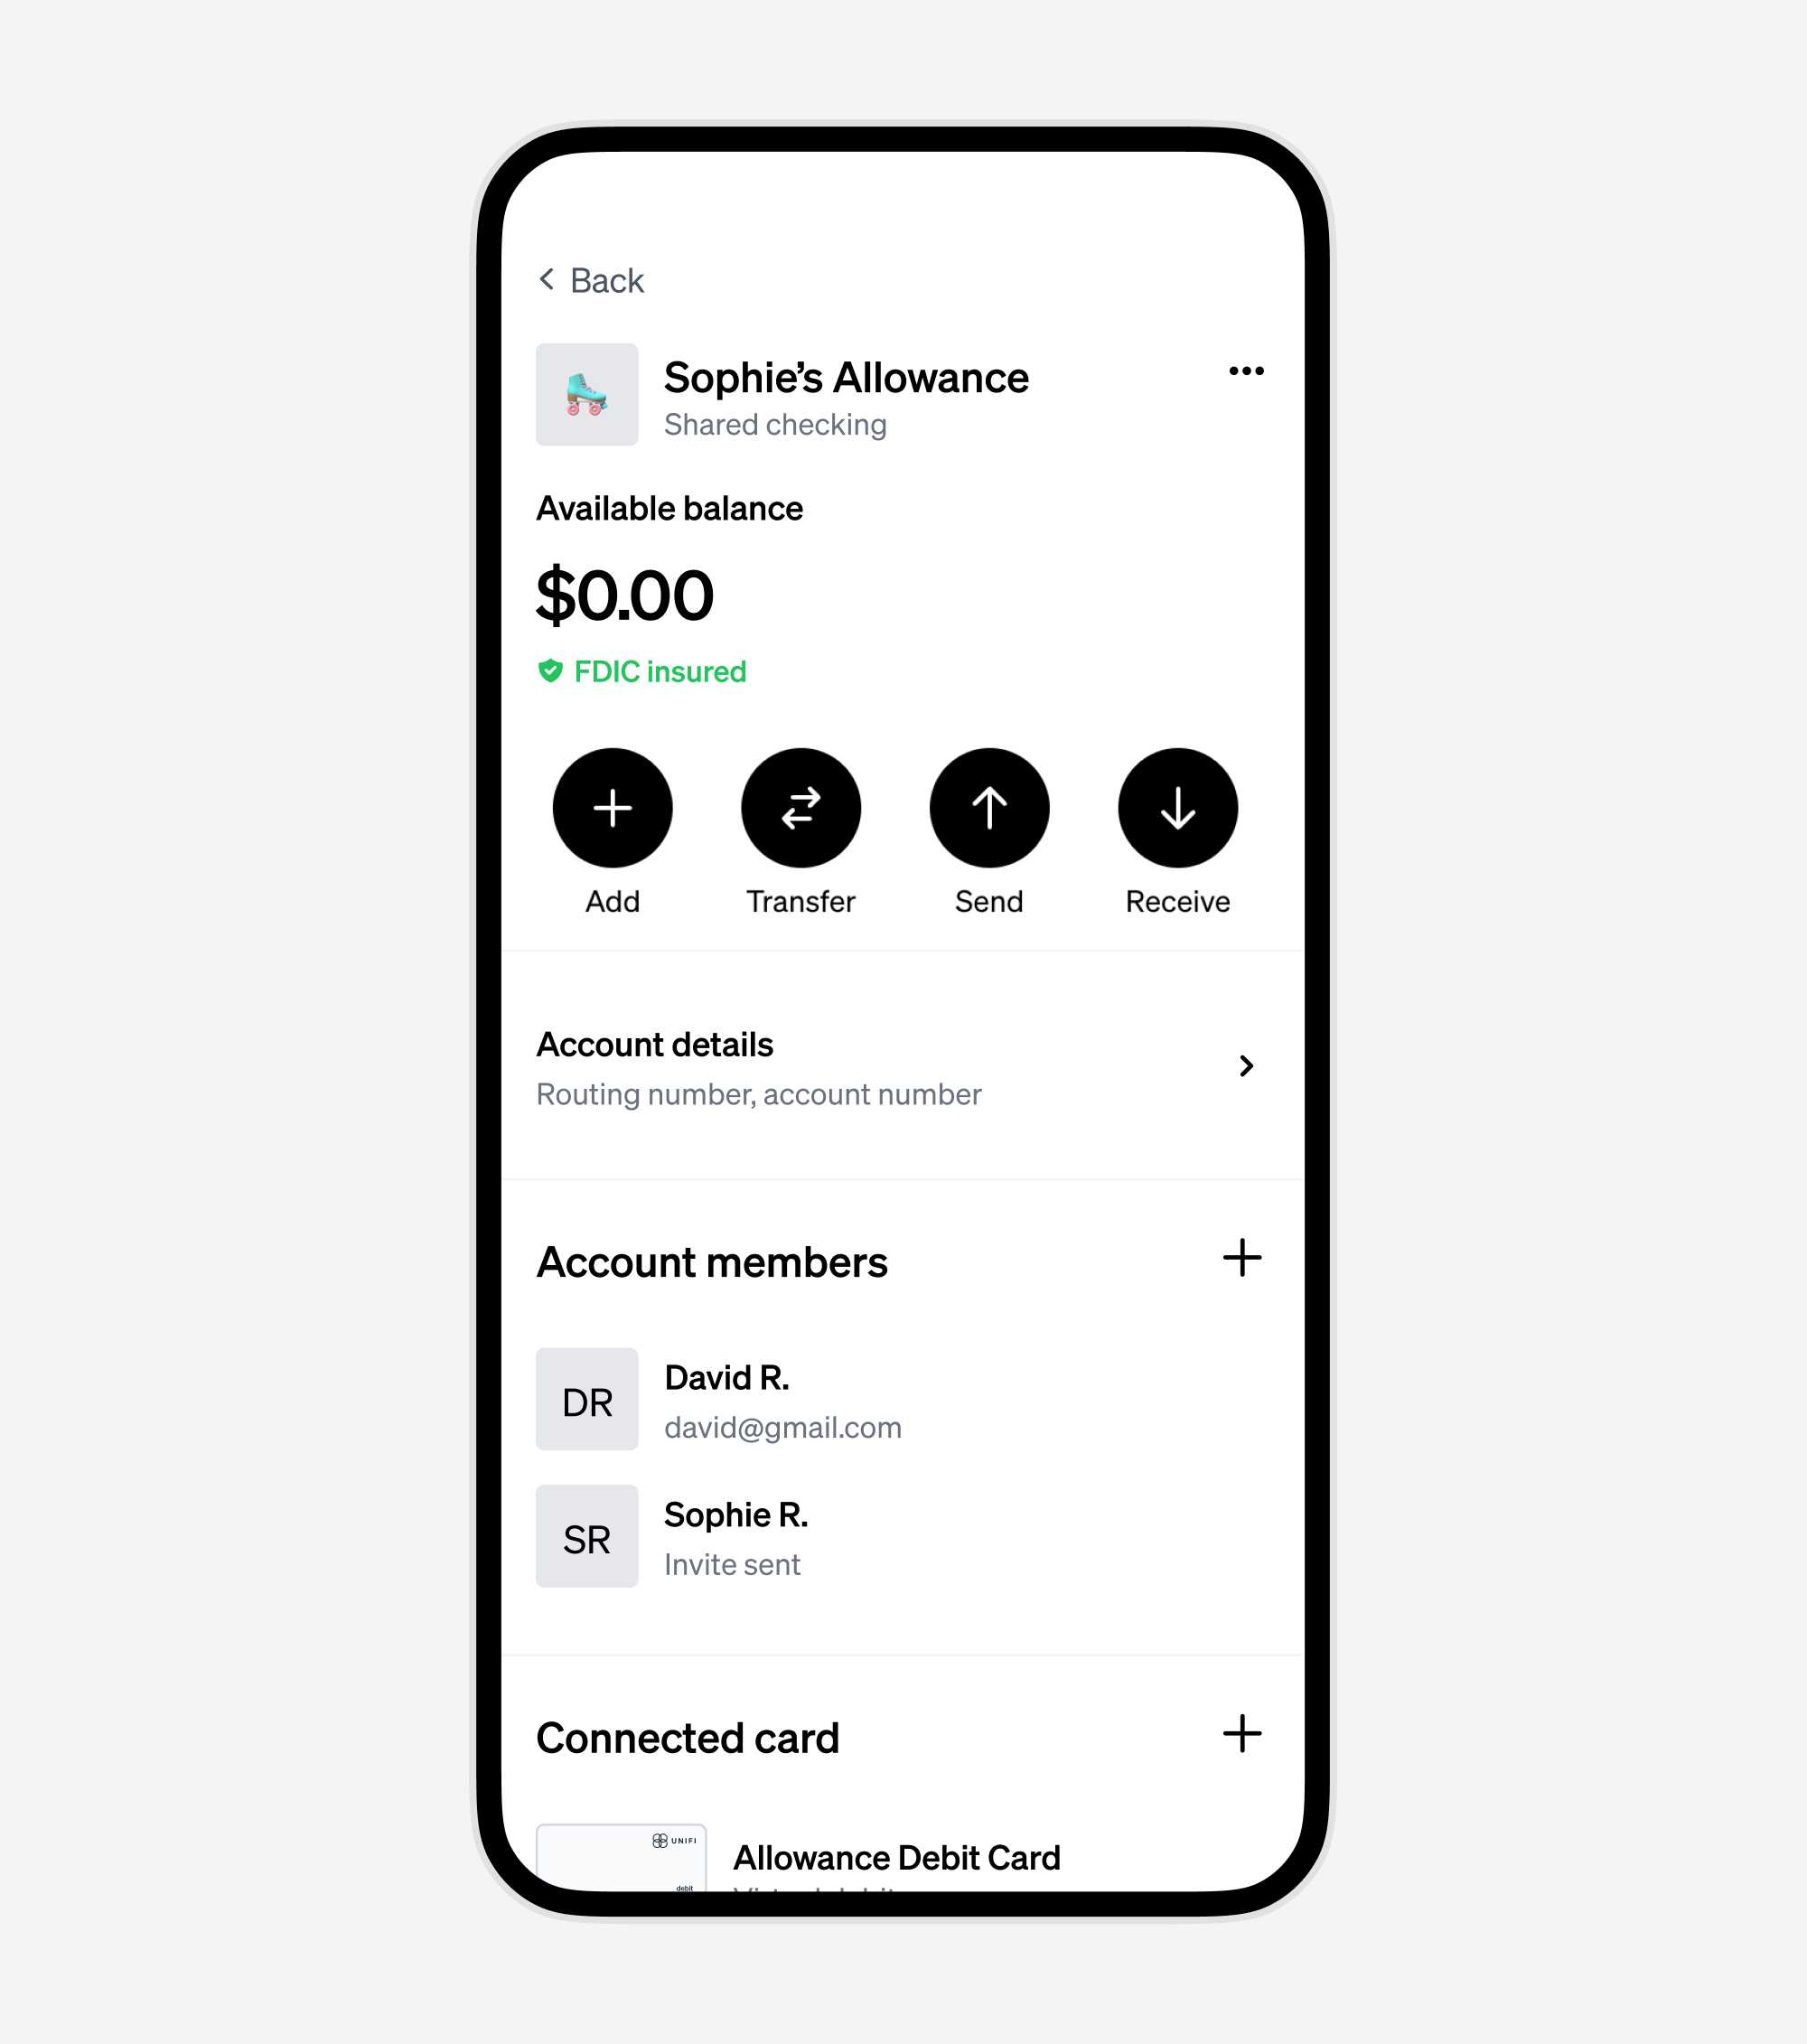
Choose a descriptive name that the person you're sharing the account with will recognize. For example, "Sophie's Allowance" or "Home Renovations".
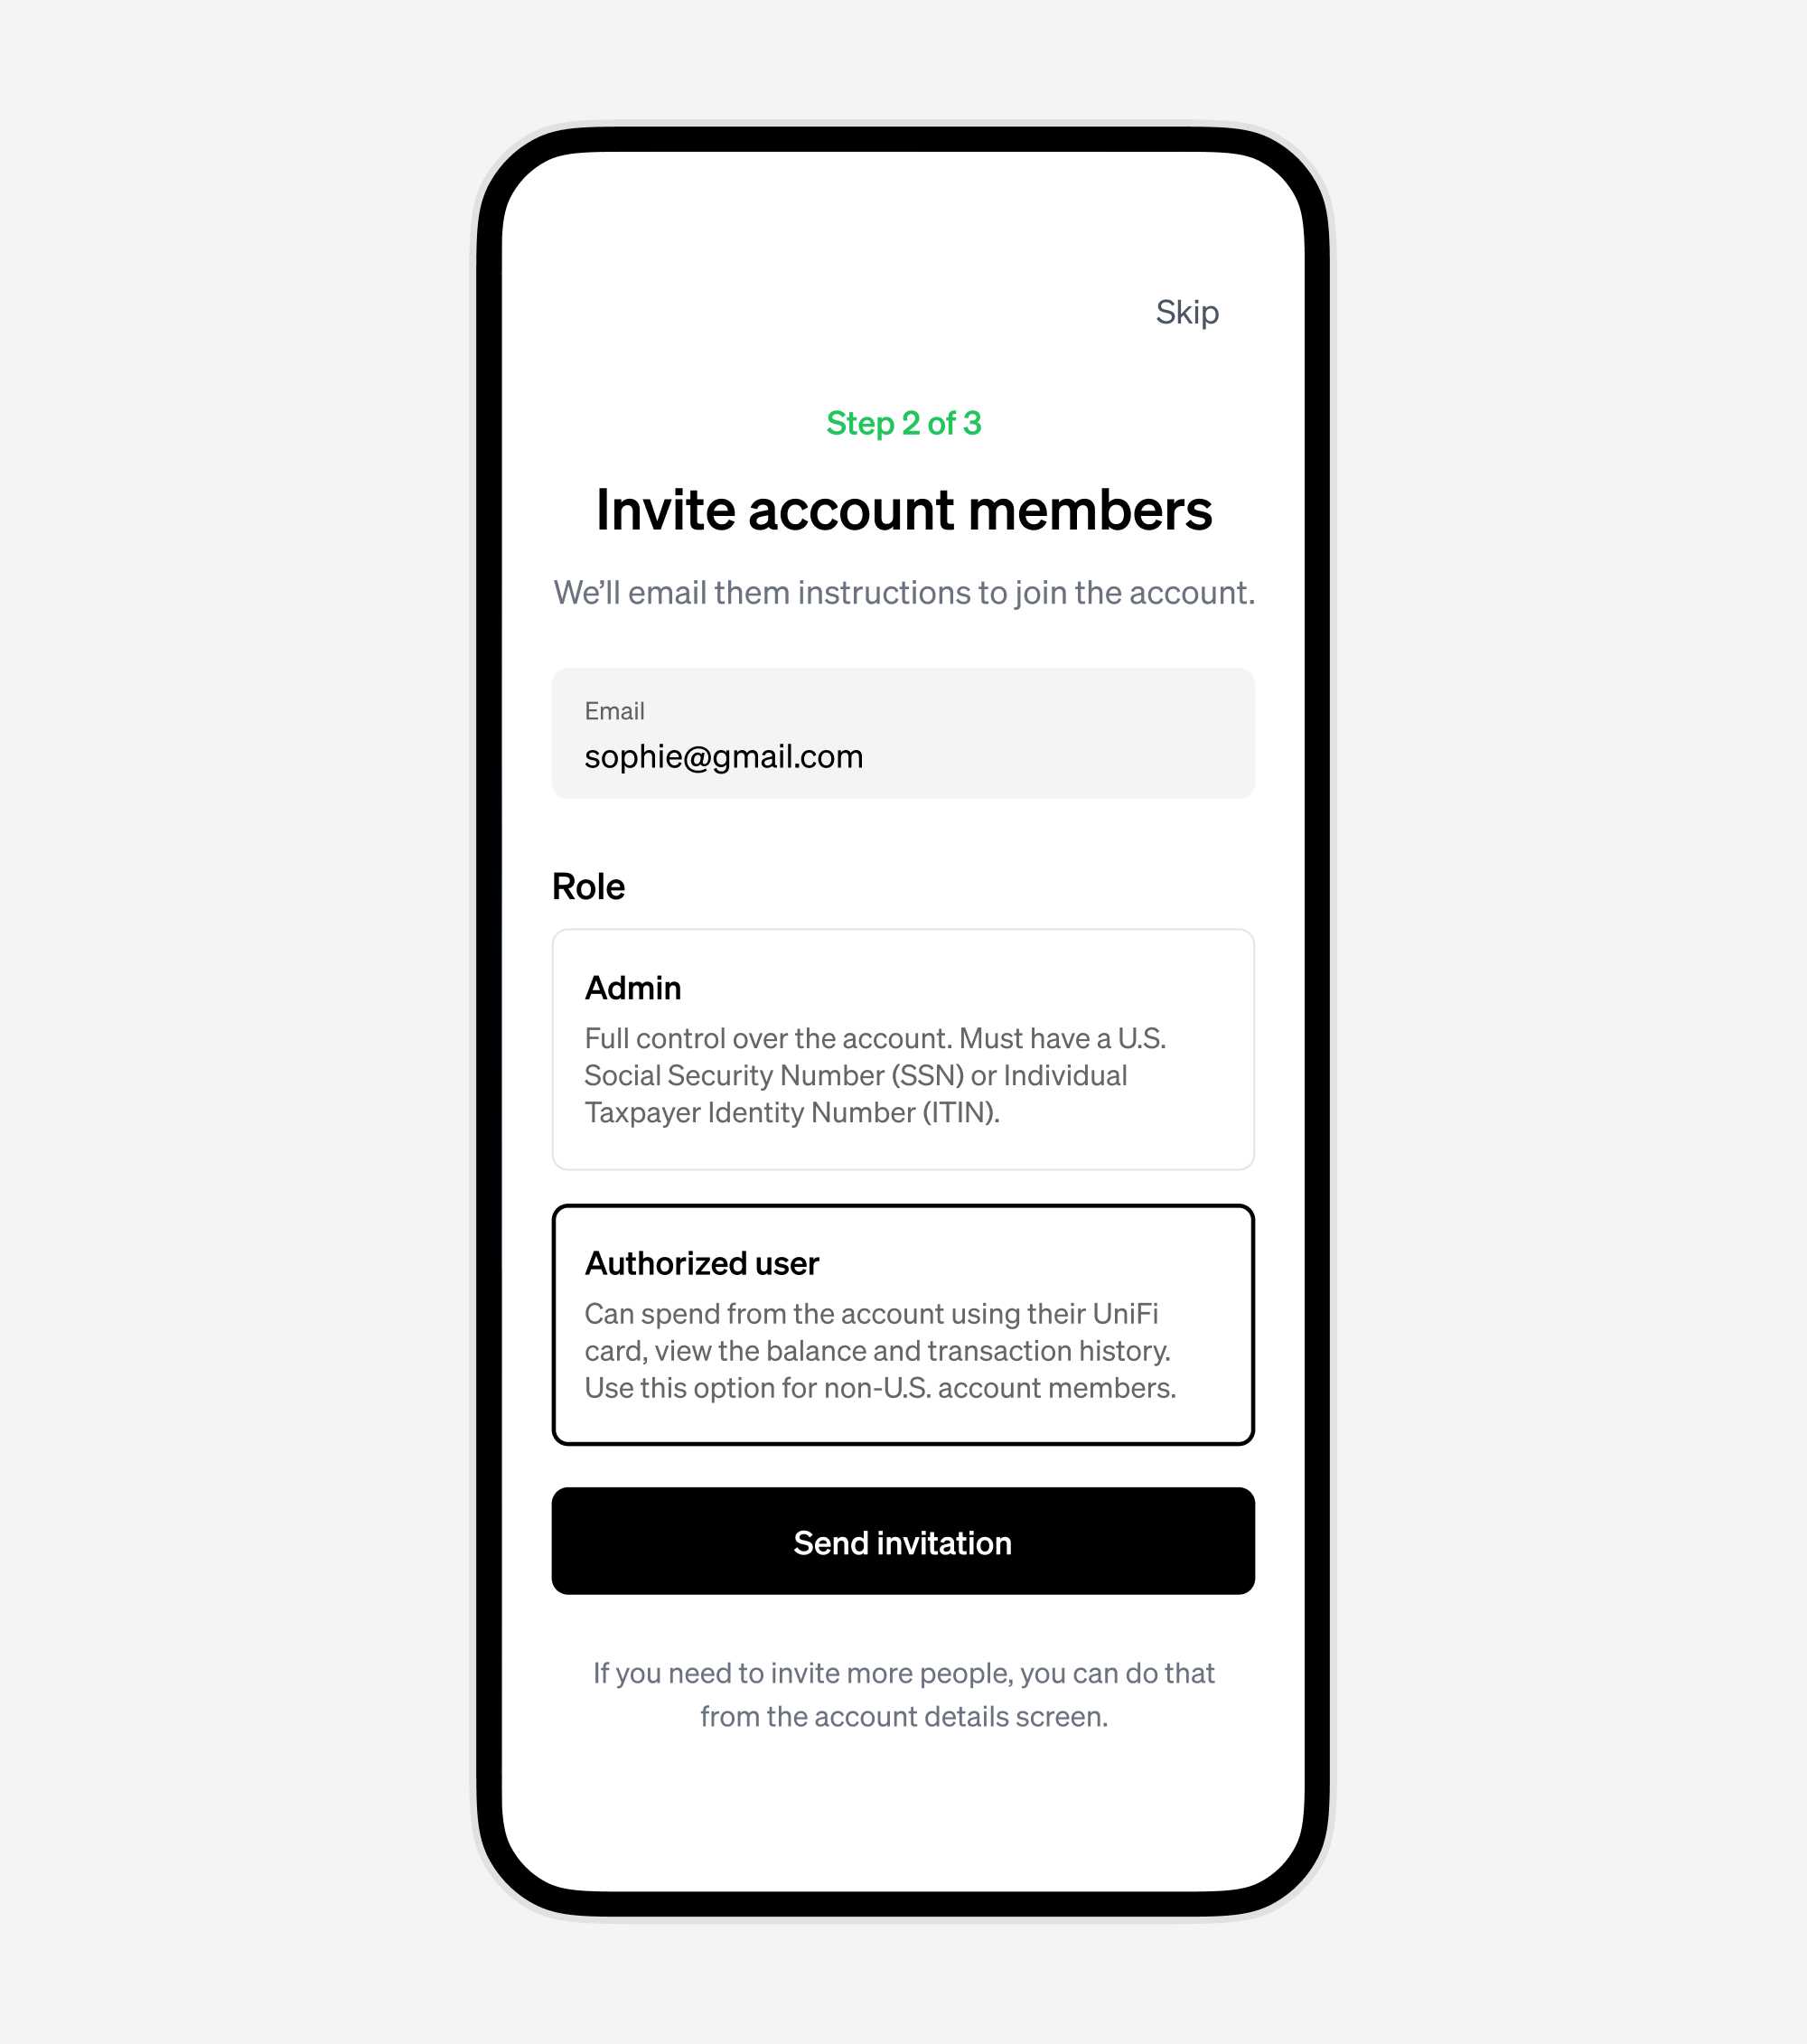
Invite the other person
All you need is their email address.
You can also choose which role you'd like to give this account member.
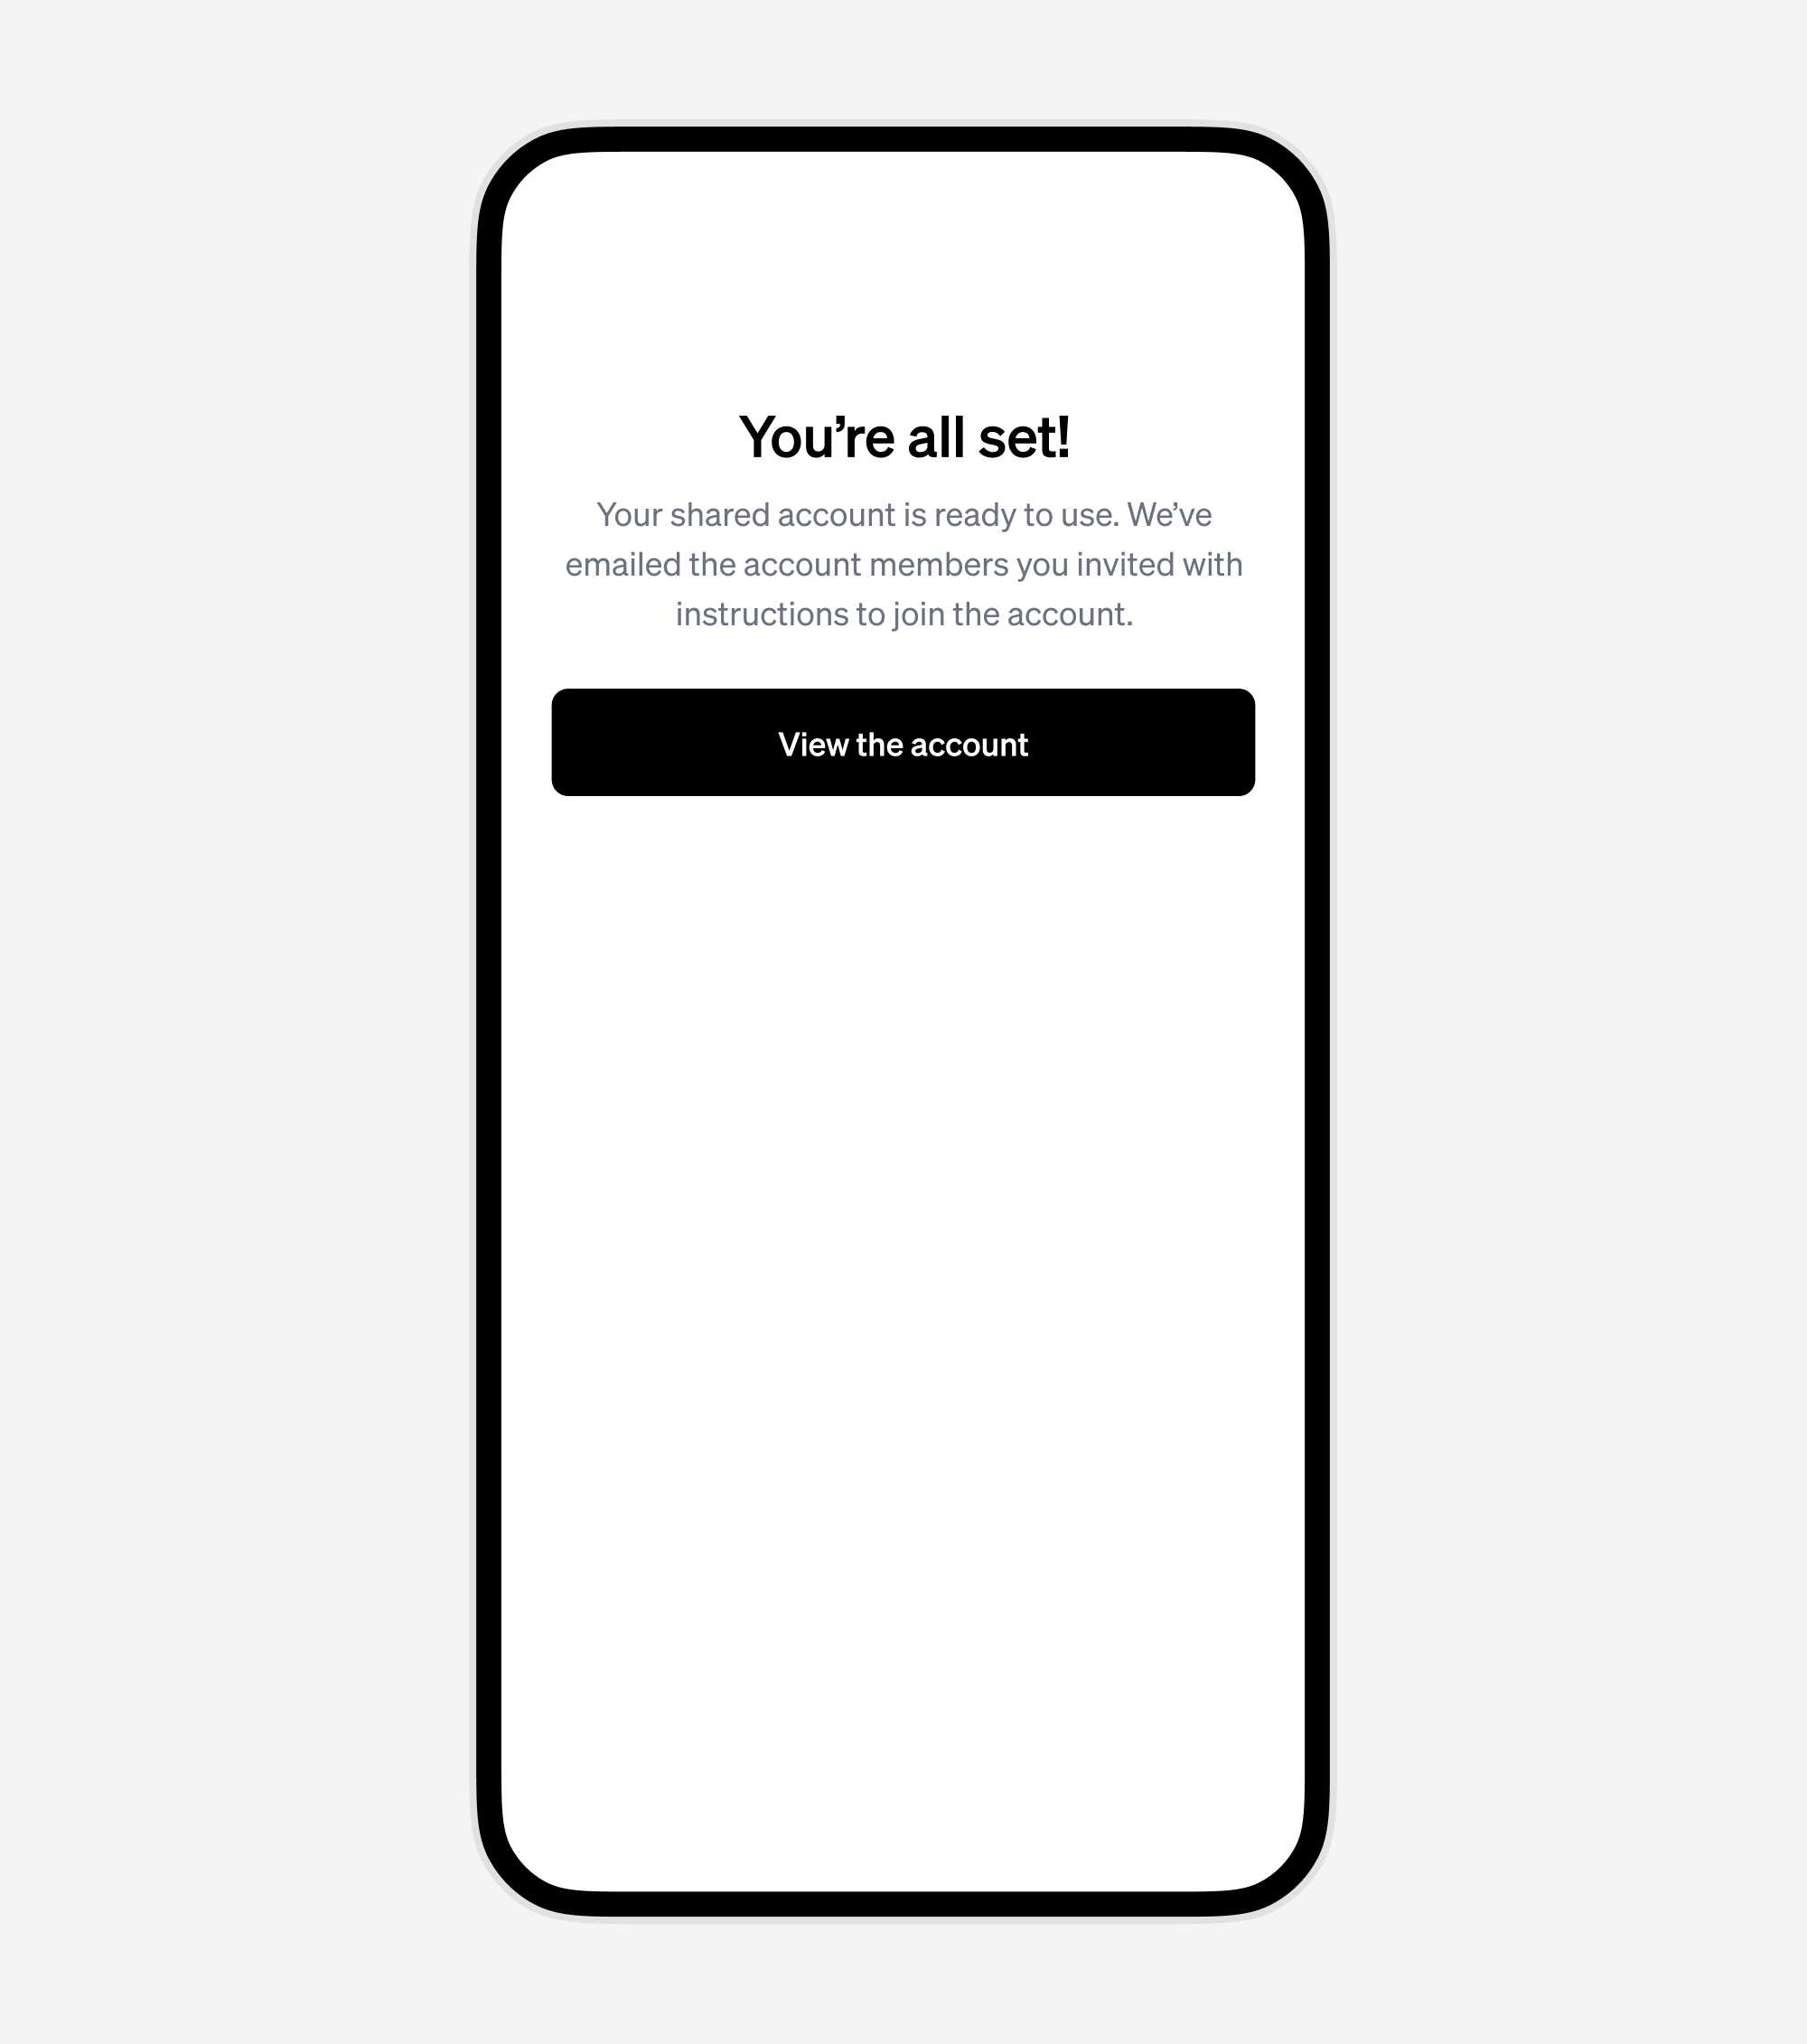
Your account is set up!
At this point we have emailed and invitation to the other person which instructions on how to join the account. Joining a shared account just takes a few minutes.
Visit the account detail page to add funds
You're all set!
Your job is done. In just a few steps, you created a shared checking account.
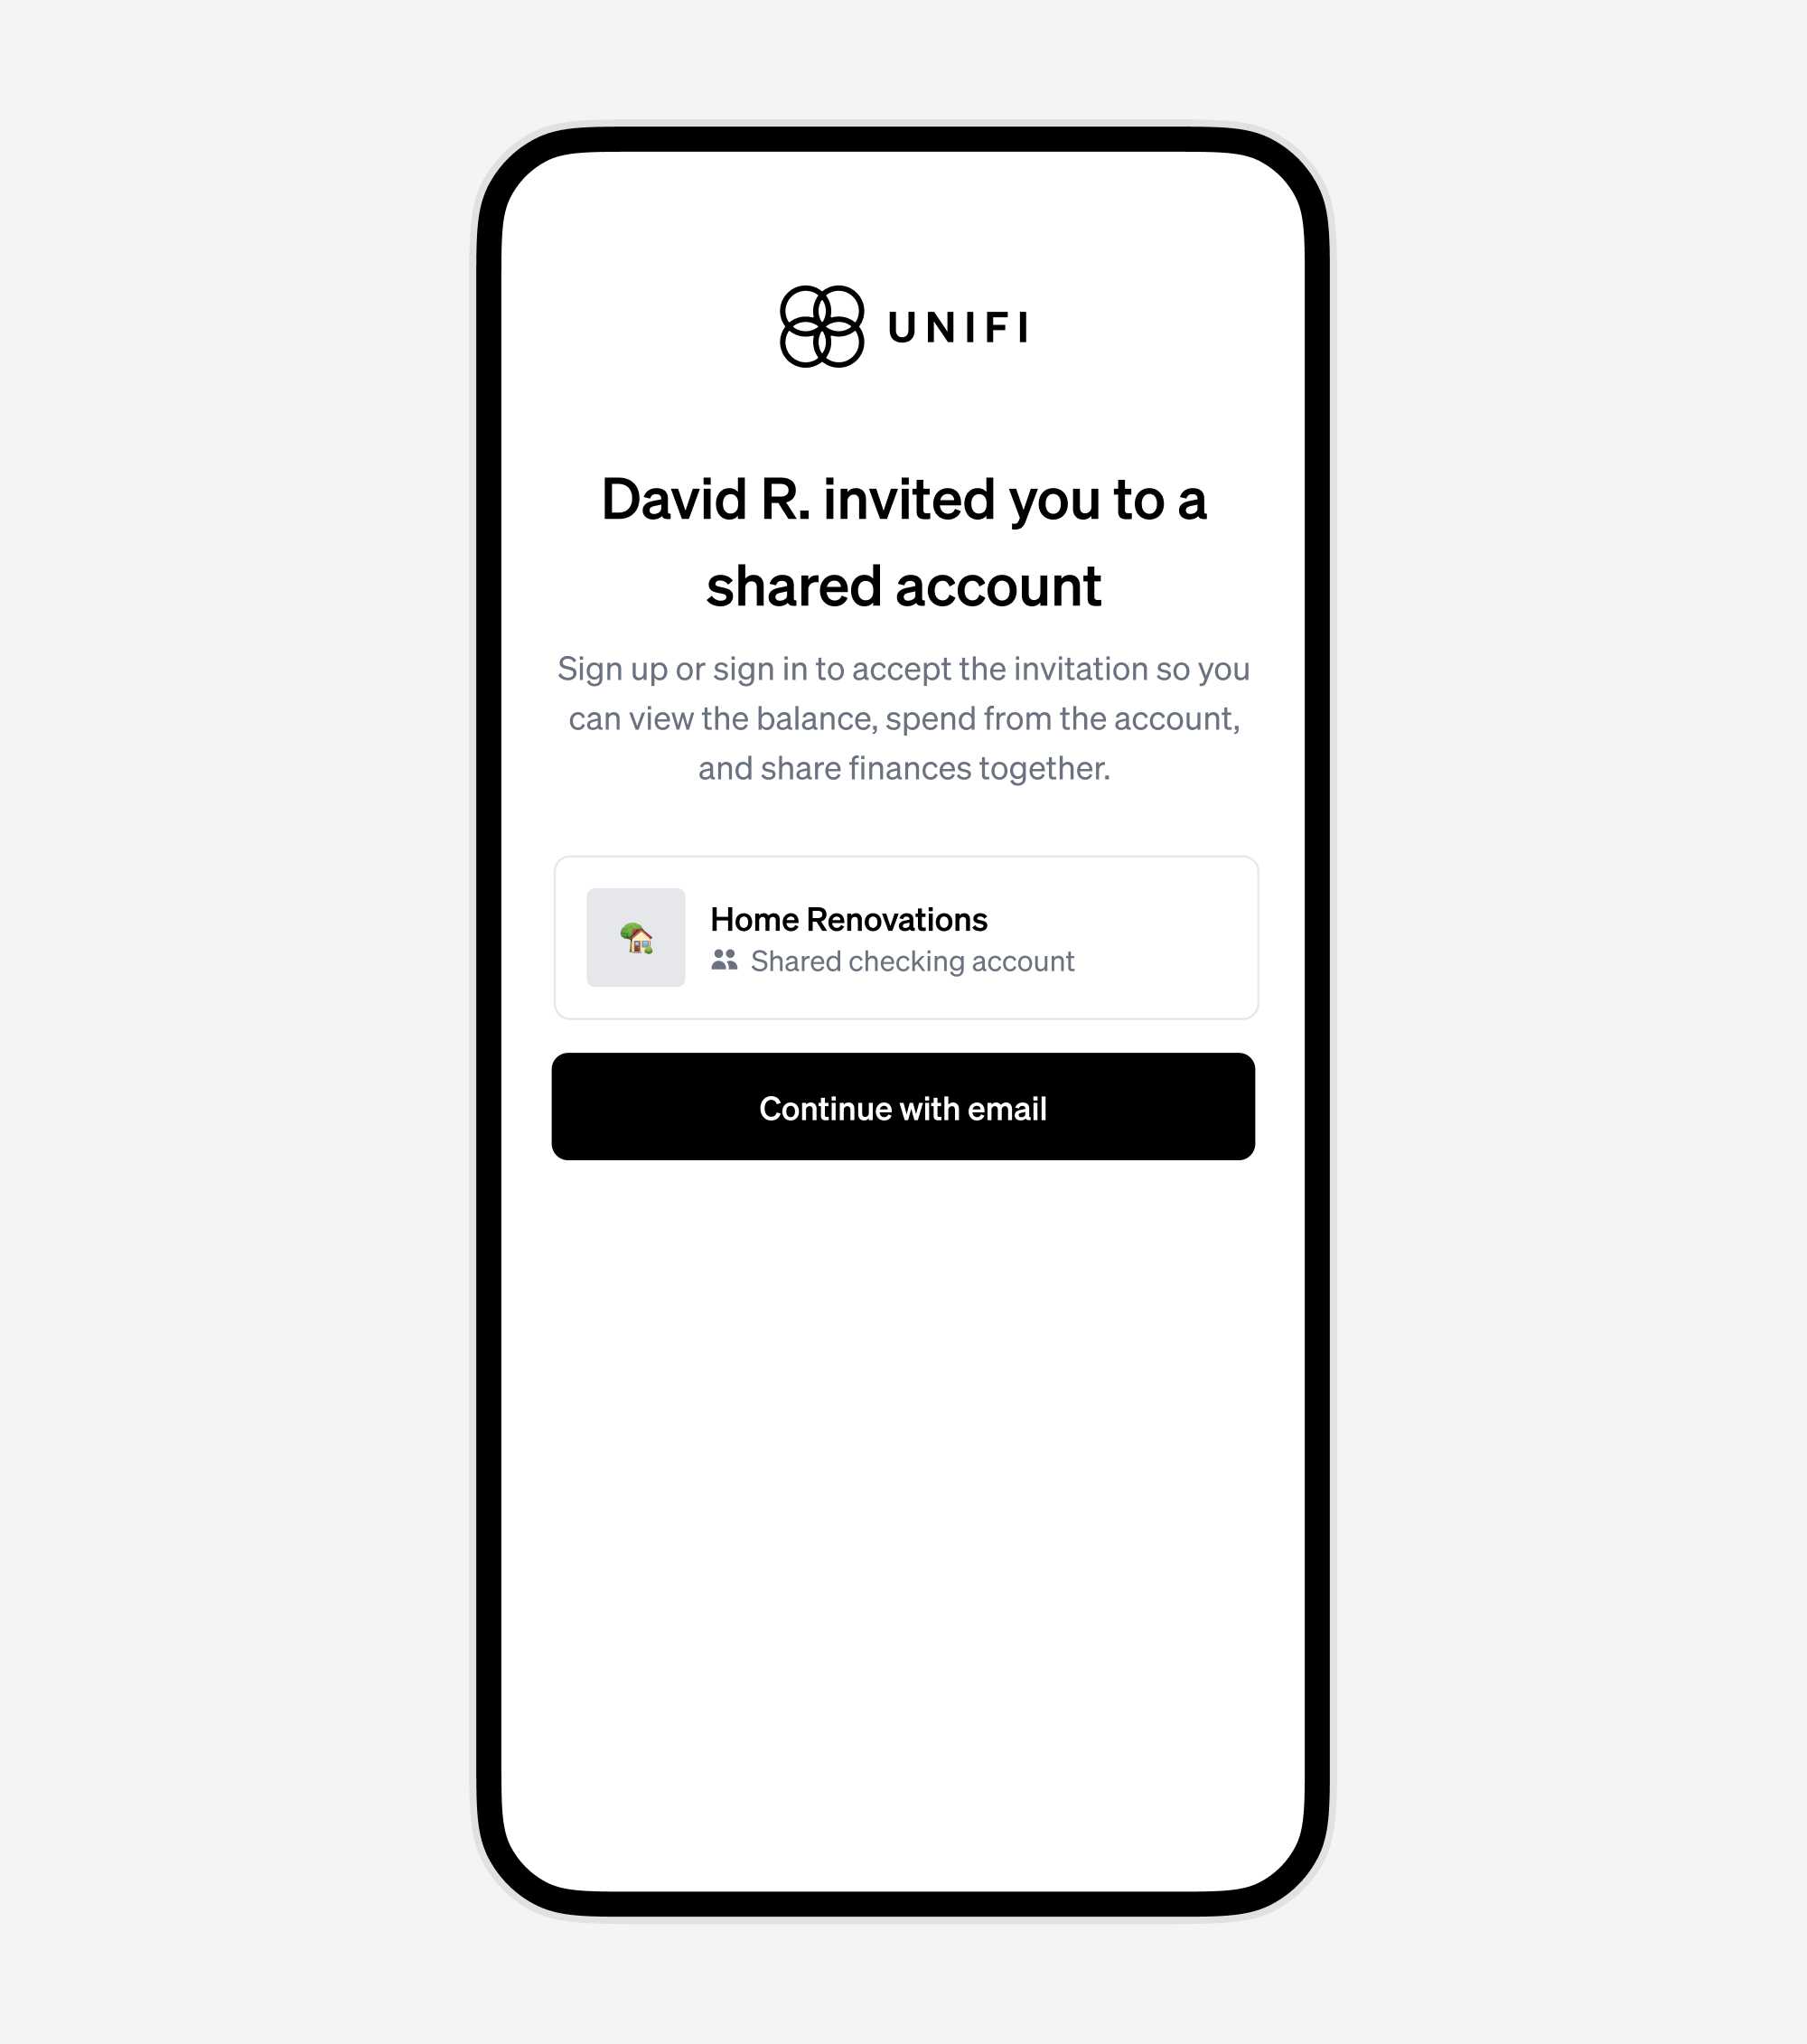
The other person will be guided to join the account
Joining the shared account is easy. This is what the other person will see when they click the "Accept invitation" button in their email.
In conclusion
UniFi shared checking accounts are easier than ever to set up. The other person doesn't have to have a UniFi account already in order to be invited to the account. Just enter their email, and we'll guide them through the easy process of joining the account.